

You’re probably here because you’ve had one of two gummy experiences. The first is the dream: smooth texture, clean flavor, no oily film, and a dose that feels consistent from one piece to the next. The second is the kitchen nightmare: separated oil, rubbery edges, sticky tops, and a batch you don’t fully trust.
That gap usually isn’t about the recipe alone. It’s about process.
Good magical butter gummies with coconut oil come from understanding what each step is doing inside the pot. Coconut oil has to stay evenly dispersed. Gelatin has to hydrate before heat hits it. Your infused fat has to go in at the right moment, or the texture and strength can drift. Once you understand those moving parts, gummy making stops feeling fussy and starts feeling repeatable.
Why Make Your Own Magical Gummies at Home
A good gummy batch changes how home edibles feel. Instead of guessing with a brownie corner or cutting uneven chocolate squares, you get pieces that are easier to portion, easier to store, and much easier to trust.
That control matters for both cannabis and mushroom use, especially for people who care about measured, repeatable experiences. One gummy can be a light starting point. Two can be a planned session. The format makes those decisions simpler because each piece is built to match the next.
Why gummies outperform many homemade edibles
Gummies solve a few practical problems at once. They hold a defined shape, they fit standard molds, and they make batch math straightforward. If you know how much infused oil went into the mixture and how many cavities you filled, you have a much better shot at consistent dosing than with baked goods.
Texture is another reason experienced makers keep coming back to gummies. Cookies can dry out. Brownies can bake unevenly from edge to center. Chocolate is excellent, but it asks for tighter temperature control and can turn grainy or dull if handled carelessly. Gummies have their own learning curve, but once the process is dialed in, they are one of the more repeatable home edible formats.
A reliable gummy method gives you:
- Formula control: Choose the juice, sweetener, flavor profile, and infused fat.
- Texture control: Adjust for a soft chew instead of a sticky, sweaty, or rubbery bite.
- Portion control: Spread one batch across a fixed number of molds for more consistent serving sizes.
- Storage control: Label, stack, and separate doses without much fuss.
Why coconut oil earns its place
Coconut oil works well here for practical reasons, not hype. It carries infused compounds effectively, stays fairly neutral in flavor, and pairs better with fruit-forward gummies than heavier fats that can leave a greasy finish. In a well-made batch, that means cleaner taste and a more uniform chew.
It also behaves in a way many home makers find easier to work with. The oil sets up firmly at cooler temperatures, which helps gummies hold their structure after molding. That does not remove the need for proper mixing. It does give you a better foundation than looser oils that separate more easily and leave slick spots in the finished candy.
For cannabis makers, coconut oil is a dependable infusion base because it fits cleanly into potency calculations. For psilocybin-focused readers, the lesson is slightly different but still useful. Even if your active ingredient is prepared another way, the same gummy principles apply. Stable dispersion, controlled texture, and consistent portioning are what make a batch feel professional instead of improvised.
I keep coming back to the same conclusion. Coconut oil gives a wider margin for success, but the payoff comes from respecting the process.
Why making them yourself is worth it
Homemade gummies let you choose what matters most. Some people want lighter doses they can test patiently. Others want stronger pieces with a clear per-gummy target. Store-bought options do not always match those needs, and homemade batches let you tune sweetness, flavor, firmness, and potency around your own use.
They also teach you more. Once you make a few batches, you start to see how small changes affect the result. A better-emulsified mixture gives cleaner texture. More careful filling gives tighter dose consistency. Better notes lead to better repeats. That science-and-craft side is the main advantage of making magical gummies at home.
Why an infusion machine can help
A machine like MagicalButter does one job well. It reduces variation during infusion, which makes troubleshooting easier later. If the oil is consistent from batch to batch, you can focus on the gummy process itself instead of wondering whether the base infusion drifted.
That is the trade-off. A machine adds convenience and repeatability, but it does not rescue poor prep or careless measuring. Good gummies still come from accurate inputs, steady heat, and a method you can repeat on purpose.
Essential Prep and Infusion Foundations
Before you touch gelatin, get the oil right. If the infusion is weak, harsh, poorly strained, or uneven, the prettiest gummy mold in the world won’t save the batch.
Decarboxylation is the step people skip and regret
If you’re making cannabis gummies, decarboxylation is what activates the material for edible use. Raw flower isn’t ready in the same way infused edibles require. Heat changes that.
The practical takeaway is simple. If you skip decarb, the rest of the process can be technically perfect and still leave you disappointed.
A careful oven decarb usually comes down to a few habits:
- Break material evenly: Don’t grind it to dust. Small, even pieces heat more predictably and strain more cleanly later.
- Use controlled heat: Gentle, steady heat works better than blasting the oven and hoping for the best.
- Avoid overdrying: Burnt material brings bitter flavor and wastes the desired ingredients in the oil.
- Cool before infusing: Warm material can create a messy handoff if you rush it straight into oil.
For mushrooms, the prep logic is different. You still want uniformity, careful measuring, and a realistic understanding that consistency starts before mixing. The same kitchen discipline matters even when the chemistry differs.
Choose your oil before you choose your flavor
If your goal is magical butter gummies with coconut oil, use coconut oil as the actual infusion base, not as an afterthought. Don’t make butter first and try to force it into a gummy system built around oil. Butter carries more flavor baggage and often creates more separation headaches.
I also prefer straining thoroughly. Tiny particles left in the oil can make gummies cloudy, gritty, or a little swampy in flavor. They can also throw off texture in small molds.
Practical rule: Smooth oil makes smooth gummies. If the oil looks murky, gritty, or inconsistent in the jar, fix that before you cook.
Using a MagicalButter machine
A machine-based workflow is easiest when you treat it like prep, not like a shortcut button. Measure carefully. Decarb first. Add your material and coconut oil, then let the machine run its cycle according to the manufacturer’s instructions.
The useful part isn’t just heating. It’s the combination of heating and mixing. That gives you a more uniform infusion than a lot of rushed stovetop attempts.
What usually works best:
- Start with fully decarbed material
- Add coconut oil only after your prep is done
- Run the infusion cycle without opening constantly
- Strain while the oil is still fluid
- Label the jar immediately
If you’re making more than one infusion in your kitchen, labeling matters a lot more than people think. One unmarked jar can ruin a whole afternoon.
If you don’t have the machine
You can still make excellent infused coconut oil on the stovetop or in a slow cooker. The trade-off is attention. Machines reduce babysitting. A pot doesn’t.
For manual infusion, focus on three things:
- Low heat only: High heat is where flavor degrades and mistakes happen.
- Gentle stirring: You want movement, not aggressive whipping.
- Consistent timing: Wandering in and out of the kitchen is how oil scorches or reduces unpredictably.
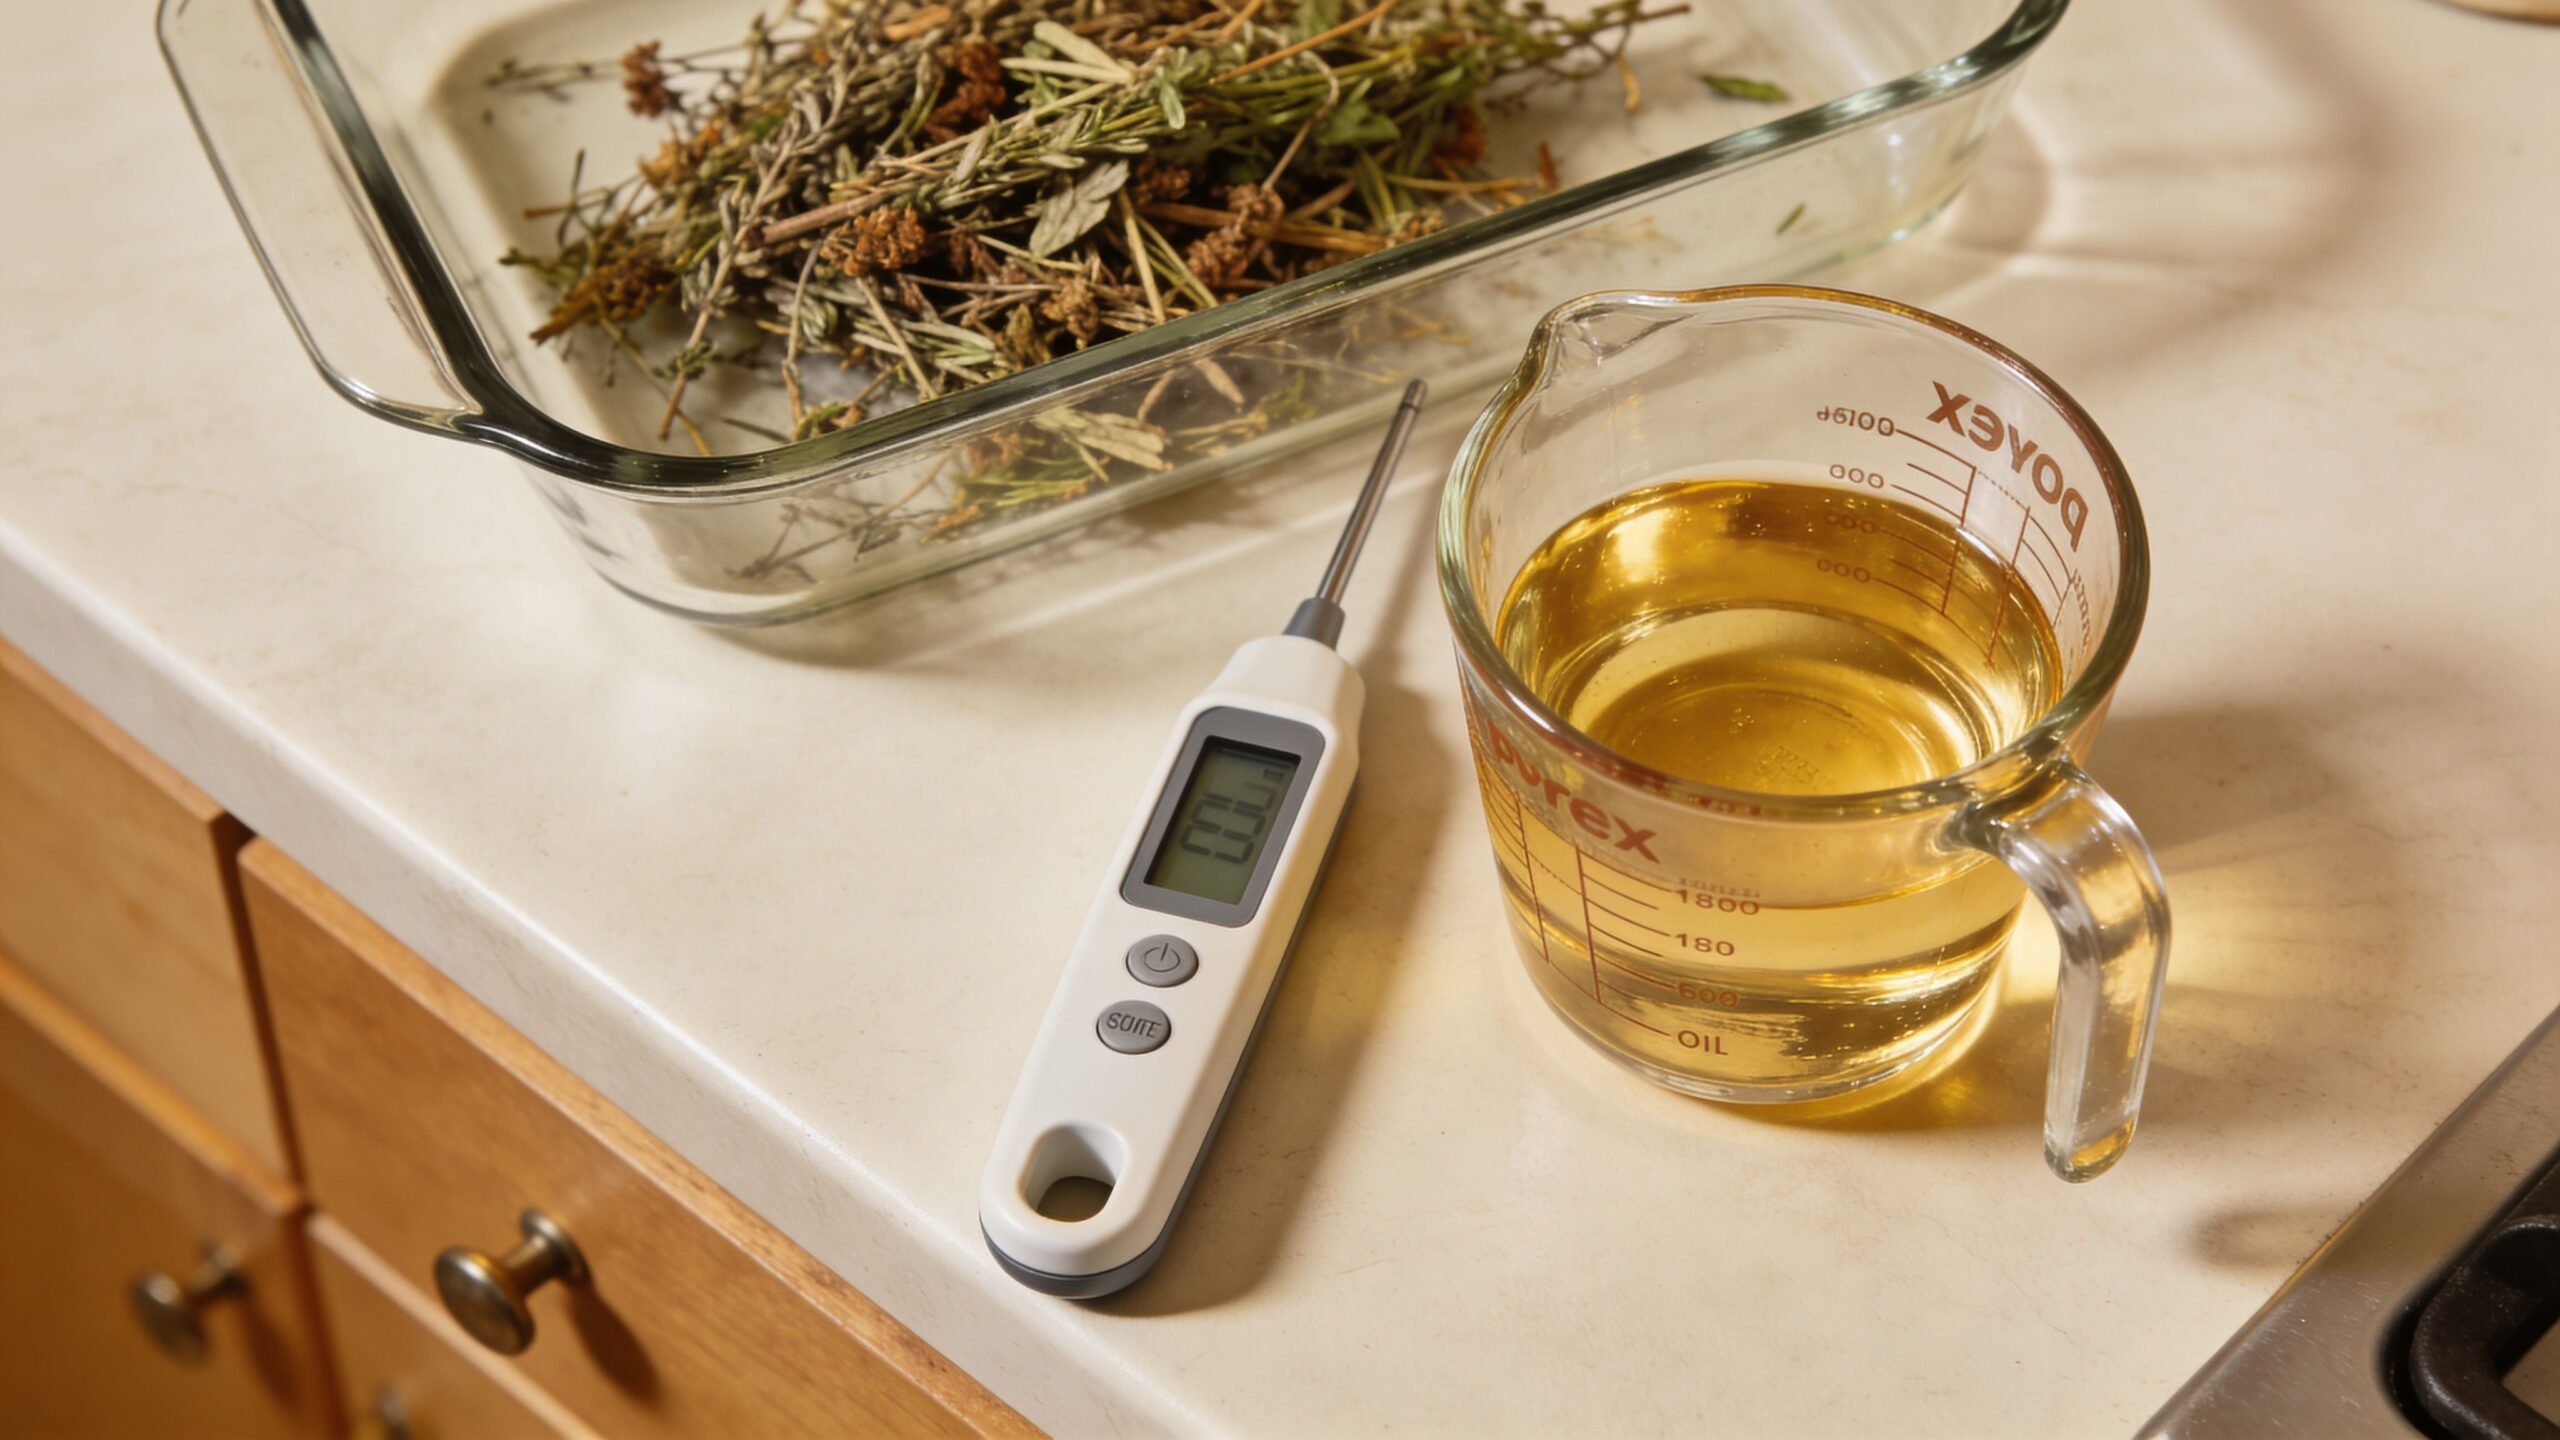
A double-boiler style setup can help keep the heat gentler. A thermometer helps even more. The less you guess, the cleaner the result.
What the finished oil should look like
Good infused coconut oil should pour smoothly when warm and set evenly when cool. It shouldn’t smell scorched. It shouldn’t have visible water droplets. It shouldn’t carry a thick sludge of plant sediment unless you intentionally left that in.
If the oil is too dirty, strain again.
If it smells cooked too hard, use it in something with a prominent flavor like chocolate instead of a fruit gummy where every off-note shows up.
If it looks clean and smells balanced, you’re ready for the part often considered the whole recipe. It isn’t. It’s half the job.
The Perfect Coconut Oil Gummy Recipe
You know the batch is on track before it ever hits the molds. The pan looks glossy, the oil stays fully blended into the base, and the mixture pours clean instead of breaking into slicks and foam. That result comes from process, not luck.
Coconut oil gives you an advantage here because it firms up well, carries fat-soluble compounds efficiently, and sets with a cleaner bite than many softer oils. The trade-off is temperature control. If the oil goes in cool or starts to separate, the whole batch gets harder to portion evenly.
The ingredient list that actually works
This ratio is reliable and easy to scale once you know how it behaves:
- 1/4 cup infused coconut oil
- 3 ounces flavored gelatin
- 1 ounce unflavored gelatin
- 1 1/2 cups apple juice
- 1/2 cup honey or agave
That usually makes a few dozen gummies, with the final count depending on your mold size and how cleanly you fill. For a first batch, keep the formula intact. Good gummy making is about controlling variables. If you change the juice, sweetener, and gelatin balance all at once, troubleshooting gets messy fast.
Apple juice is a safe starting liquid because the flavor is mild and the acidity is moderate. Strong citrus can work, but it is less forgiving and can push the texture softer than expected.
Why blooming gelatin matters
Blooming is one of those small steps that decides whether the finished candy has a proper chew or a rough, uneven texture.
Dry gelatin needs time to absorb liquid before heat is applied. That hydration helps it dissolve smoothly and build a stable gel network. Skip the bloom and you often get stubborn clumps. Then people stir harder, add air, and end up with bubbles, foam, and patchy set.
Give the unflavored gelatin a full rest in part of the juice until it swells and thickens. It should look awkward and spongy. That is correct.
The cooking workflow
Stage one with the bloom
Pour 1/2 cup of apple juice into a saucepan or heat-safe bowl. Sprinkle the 1 ounce of unflavored gelatin across the surface in an even layer.
Let it sit for 5 minutes.
Do not dump the gelatin into one wet pile. Even coverage helps every granule hydrate at about the same rate, which makes the melt cleaner later.
Stage two with the rest of the base
Add the remaining 1 cup of apple juice, the 3 ounces of flavored gelatin, and the 1/2 cup of honey or agave. Set the pan over low to medium-low heat.
Stir until the mixture is fully smooth and the gelatin dissolves. Keep the heat gentle. A simmering pot may look harmless, but too much heat dulls fruit flavor, creates more foam, and can weaken the tidy texture you want in the final gummy.
Stage three with the infused oil
Warm the infused coconut oil until it is fully liquid, then add the 1/4 cup to the pan. Keep stirring over low heat until the mixture looks uniform and glossy.
Use an immersion blender if you have one. That tool does a better job than a whisk at breaking the oil into fine droplets and spreading it through the gelatin base. Better dispersion means better consistency from gummy to gummy, which matters whether you are making cannabis edibles or working with mushroom infusions for a recipe inspired by this guide to coconut mushroom candy.
If you still see oil beads on the surface, do not fill the molds yet. Blend a little longer. A marbled surface in the pan often turns into separated layers in the mold.
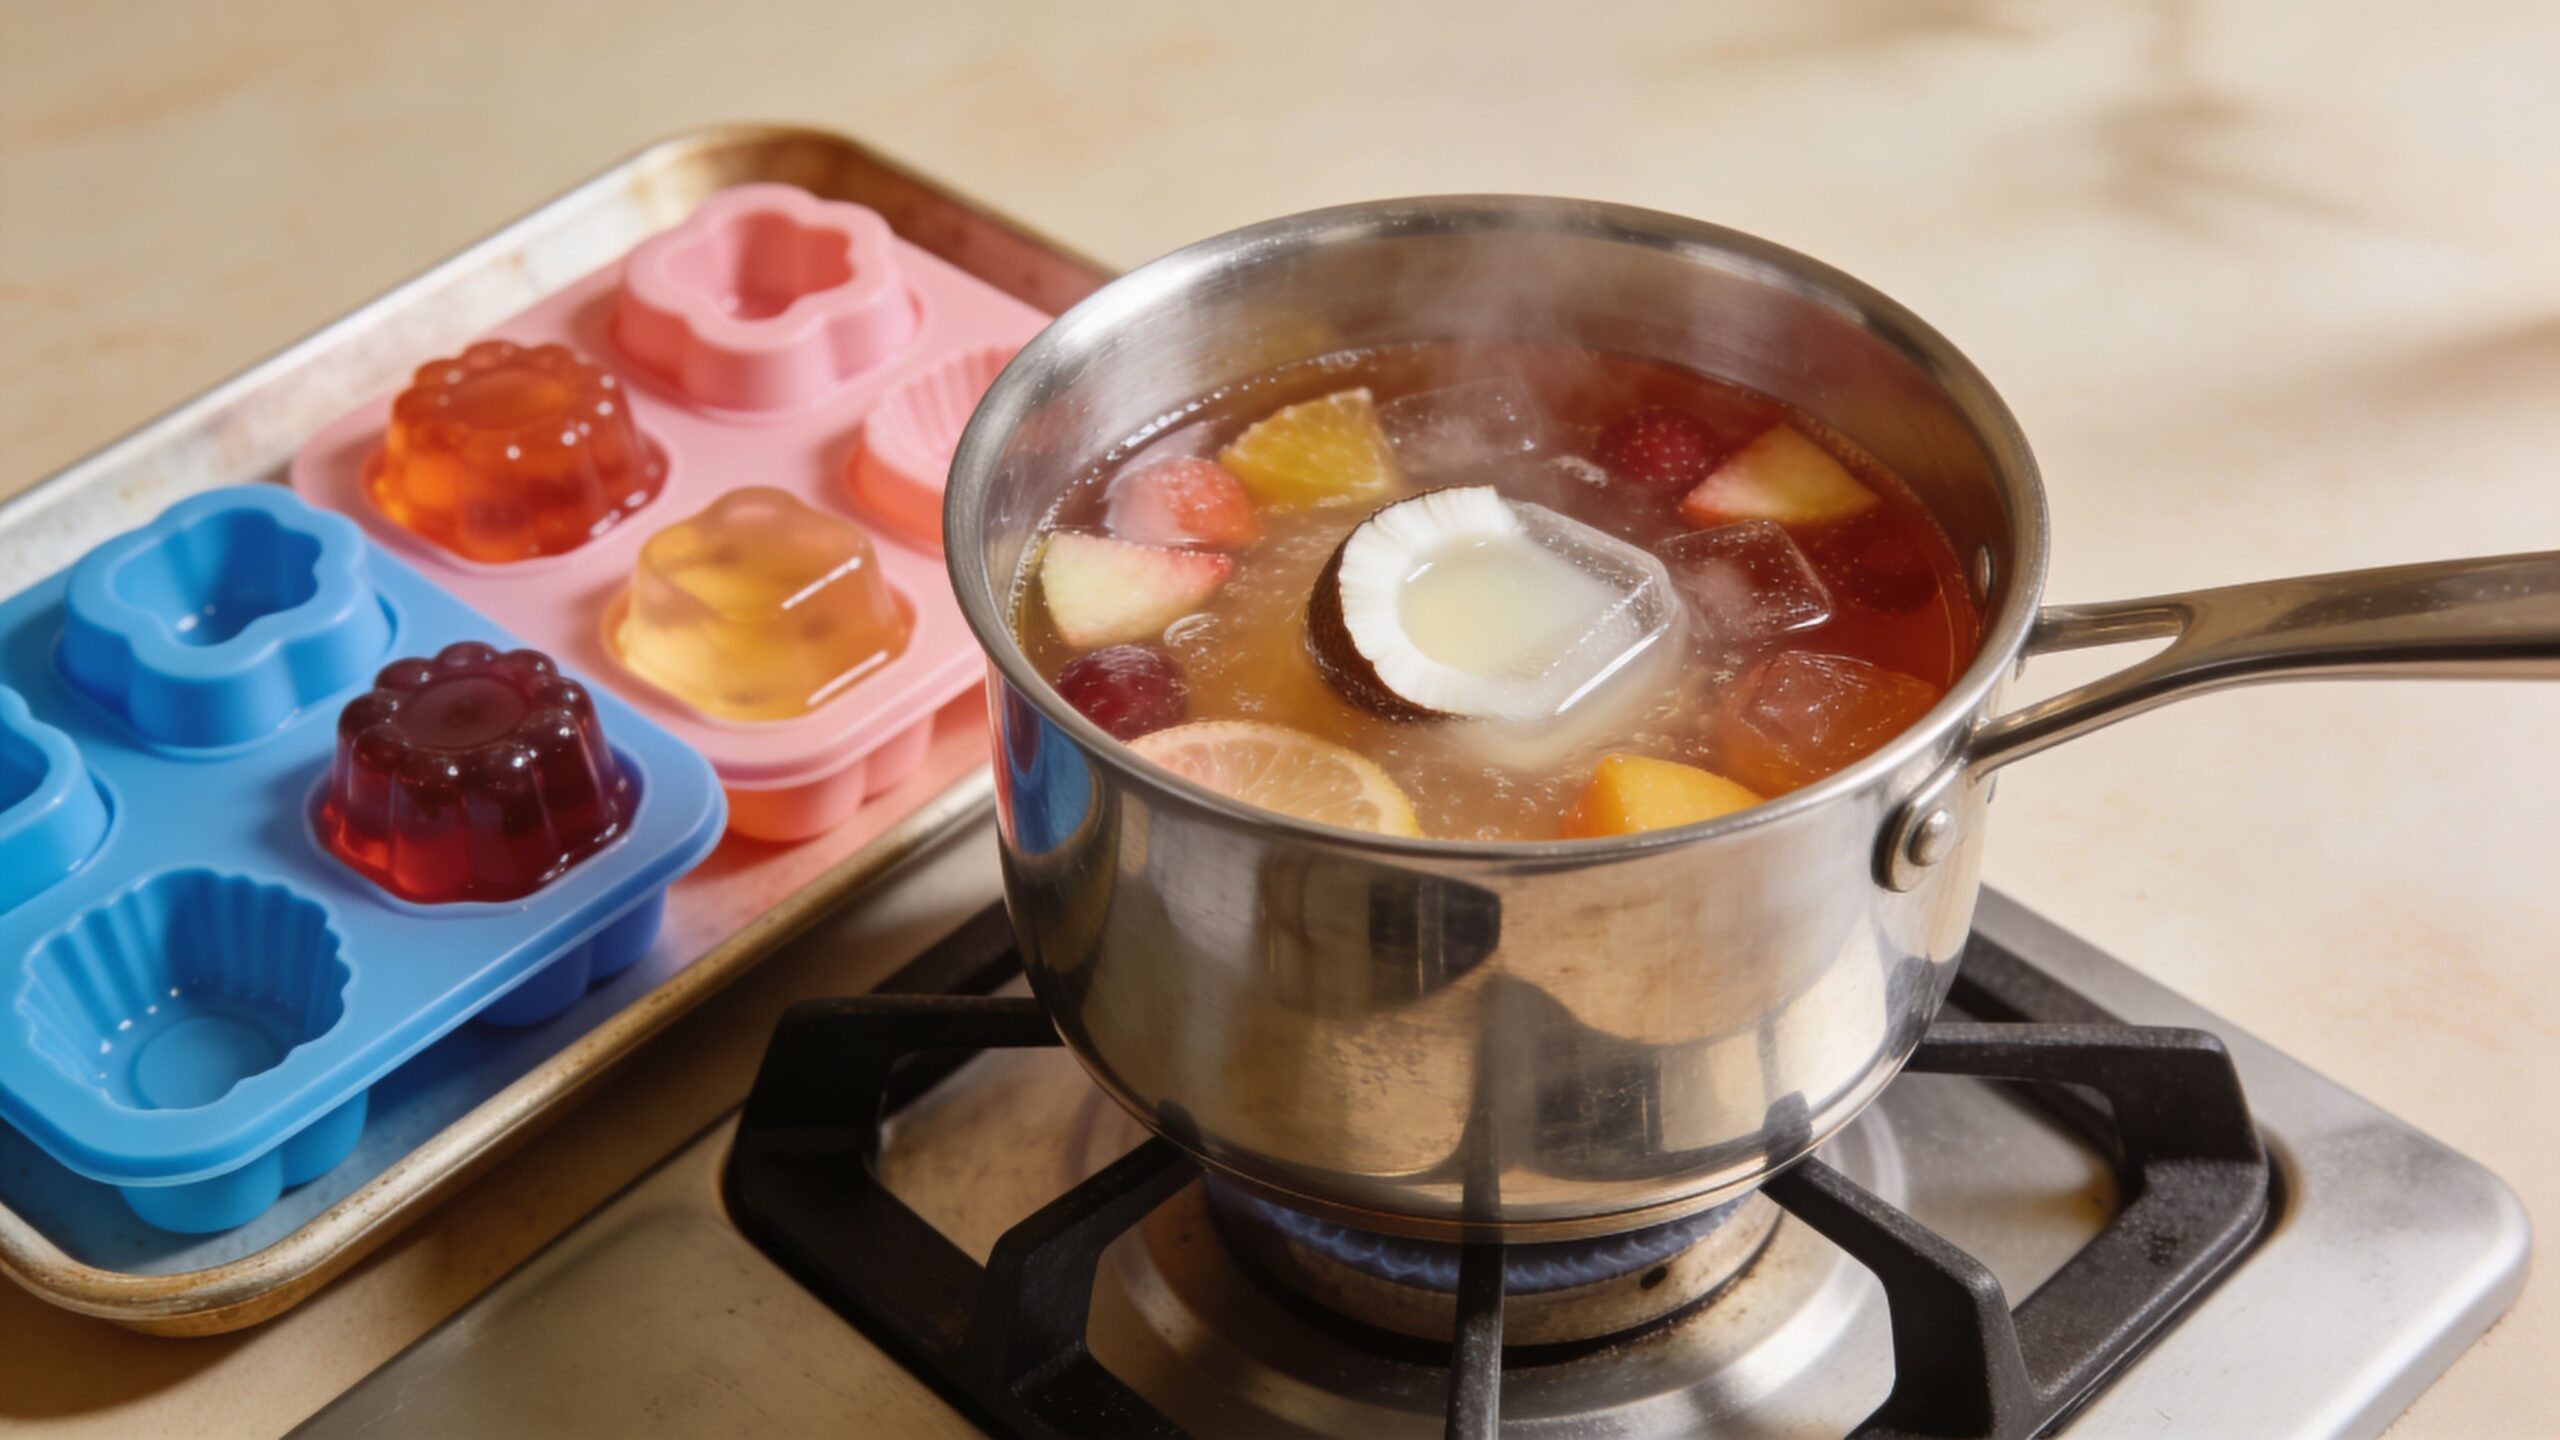
Filling molds without making a mess
Once the mixture is smooth, work quickly. Gummy base thickens as it cools, and every minute of delay makes filling less precise.
A few habits keep the batch clean:
- Use a squeeze bottle, piping bag, or dropper: Better portion control, less waste
- Set the silicone molds on a tray before filling: You can move the whole batch without sloshing
- Stir briefly between pours if needed: This helps keep the oil evenly dispersed through the last cavity
- Stop just short of the rim: Overfilled molds create sticky edges and misshapen gummies
This part is where consistency starts showing up in dosing. A recipe can be mixed perfectly and still give uneven results if some cavities are half-filled and others are crowned over the top.
A quick visual helps before your first batch
Watching someone move from bloom to blend can make the timing click faster than reading it. This walkthrough is handy before you start heating your own mixture.
What works and what usually fails
A dependable batch usually comes from the same handful of habits:
What works well:
- Low, steady heat
- Fully melted coconut oil
- A proper gelatin bloom
- An immersion blender for even dispersion
- Fast transfer to molds while the mixture is still fluid
What usually causes trouble:
- Boiling the base
- Adding cool or semi-solid oil
- Skipping the bloom
- Whisking aggressively and trapping air
- Letting the mixture sit too long before molding
Texture checkpoints
Use the pan and molds as your guide.
| Checkpoint | What you want to see |
|---|---|
| After bloom | Thick, evenly hydrated gelatin with no dry pockets |
| During heating | Smooth liquid, no visible granules |
| After oil addition | Glossy, unified mixture without floating oil spots |
| In the molds | Even fill, minimal foam, no separated layers |
Good gummies look calm at every stage. No frantic bubbling. No oily shine on top. No lumps hanging around the edges of the pan. When the mixture stays smooth and unified, the finished texture and dosing are much easier to trust.
Mastering Your Gummy Potency and Dosing
Dosing is where edible makers either become consistent or stay anxious. You don’t need fancy software to get close. You need a method you’ll use every time.
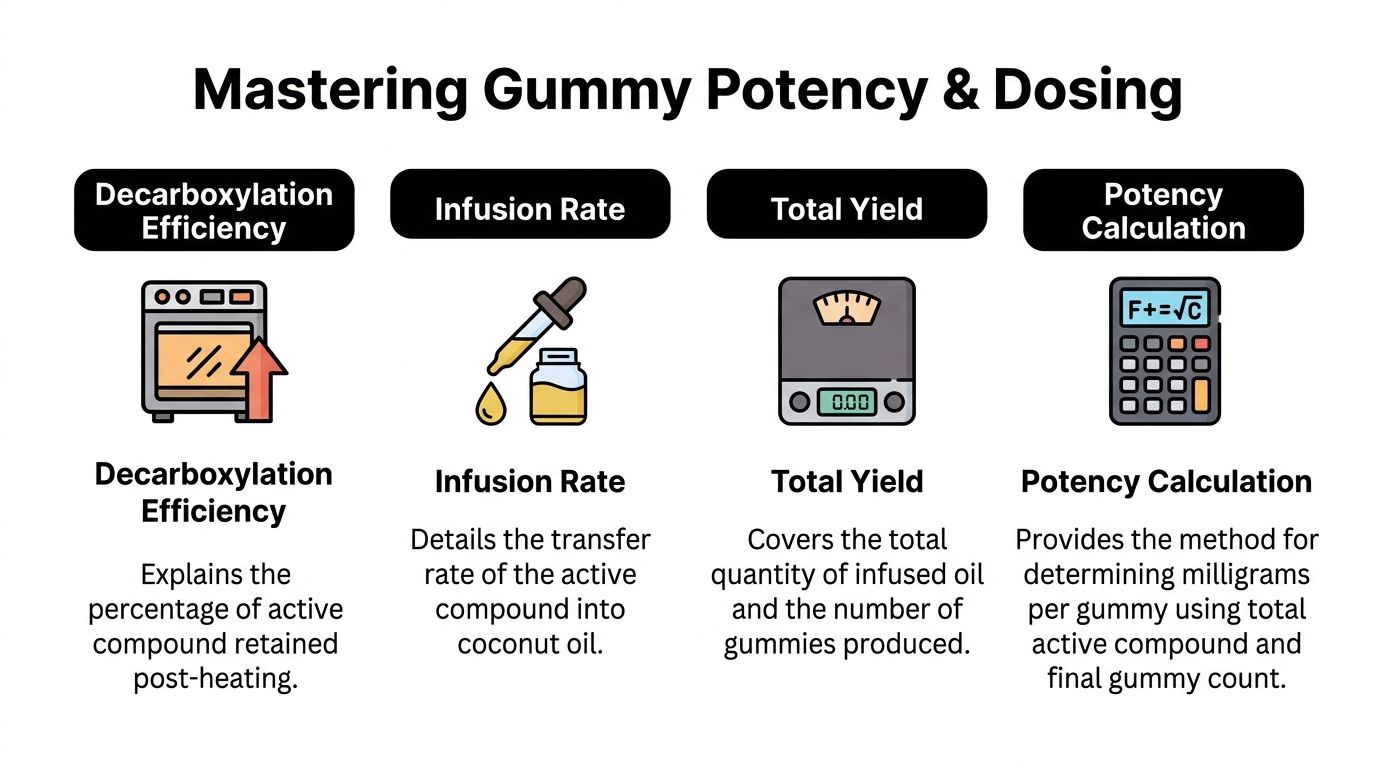
The simplest useful formula
For gummies, the practical calculation is:
Total active compound in your infused oil ÷ number of finished gummies = estimated dose per gummy
That’s it.
The hard part isn’t the math. It’s knowing the total active compound in the oil with enough honesty to avoid fooling yourself. If you know the starting potency of the material you used and how much of it went into the infusion, you can estimate your oil. Then divide by your final gummy count.
This is estimation, not lab testing. Treat it with respect.
What goes into the estimate
A reliable estimate asks four questions:
- How strong was the starting material?
- How much of it did you use?
- How much usable potency made it into the oil?
- How many gummies did the batch produce?
That third question is where many people get careless. Real kitchens have transfer loss, pan loss, residue loss, and tiny filling differences from mold to mold. Don’t assume perfection. Estimate conservatively.
Start lower than your ego wants to. A dose you can repeat is better than one you have to recover from.
Example dosing calculation for gummies
Use this table as a worksheet template rather than a promise. Replace the sample entries with your own known numbers.
| Starting Material Potency | Grams Used | Total Potency in Oil (mg) | Number of Gummies | Estimated Dose per Gummy (mg) |
|---|---|---|---|---|
| Your tested potency | Your amount used | Your estimated infused total | Your final yield | Total potency divided by gummy count |
| Lower-strength batch | Your amount used | Your estimated infused total | Your final yield | Total potency divided by gummy count |
| Higher-strength batch | Your amount used | Your estimated infused total | Your final yield | Total potency divided by gummy count |
If you want a product-focused look at concentrated gummy formats, this overview of magic mushroom gummy extracts is helpful for comparing how extract-based edibles differ from whole-material kitchen builds.
Why gummy count matters more than people think
The batch can be perfect in the saucepan and still become inconsistent at the mold stage. If you fill some cavities deeper than others, your actual dose per piece shifts. The fix is boring but effective. Count carefully and fill evenly.
I like to do three things every time:
- Use the same mold style for the full batch
- Keep a written final count
- Set aside odd leftovers as a separate tester portion
That last part matters. The scrapings and extra spoonfuls are almost never equal to a standard gummy. Treat them as separate.
A practical way to dose for cautious use
If you’re making gummies for first-time or low-dose use, smaller pieces are easier to work with than stronger full-size candies. A mild gummy can always be taken in stages. An overly strong gummy can’t be untaken.
This is especially relevant for adults who like both cannabis and mushroom edibles. The desired experience varies a lot. Some people want a subtle, social edible. Others want something much deeper. The gummy itself should match that intent.
A few kitchen habits help keep dosing sane:
- Write the batch details down: Date, infusion used, mold count, and your estimate.
- Test one piece on a different day: Don’t evaluate potency while you’re still licking the spatula.
- Don’t stack variables: New recipe, new infusion, and new mold size all at once makes troubleshooting harder.
- Separate recreational and micro-style batches clearly: Similar-looking gummies can cause real confusion.
Good dosing is mostly a labeling habit
The most responsible edible makers I know aren’t necessarily the best decorators. They’re the best note takers.
Label the container with:
- batch date
- ingredient base
- estimated dose per piece
- intended use notes for yourself
That turns your next session from guesswork into repetition. And repetition is what gives homemade gummies their real edge. Not novelty. Reliability.
Pro Tips for Flawless Gummy Production
The batch usually goes sideways in the last ten minutes. The flavor is fine, the infusion is good, then the mixture turns foamy, the oil starts streaking, or the gummies set with a wet, sticky skin. Good gummy making is mostly about controlling those small moments.
Add the infused coconut oil late, and mix it with intent
Infused coconut oil behaves best when it is fully melted, added near the end, and mixed into a base that is warm enough to stay fluid but not simmering. That approach helps protect flavor, keeps the gelatin structure cleaner, and gives you a better shot at even distribution from gummy to gummy. MagicalButter’s gummy making tips also stress late oil addition and patient setting.
This is one of the places where the science matters. Coconut oil brings cannabinoids and other fat-soluble compounds into a gummy well, but oil and water still want to separate. If the mixture is too cool, the oil streaks. If it is too hot, the texture gets sloppy and the foam gets worse.
Reheat gently, not repeatedly
A gummy mix can usually handle a careful rewarm. It rarely improves from being cooked harder.
If the batch starts thickening before you finish filling molds, bring it back over low heat and stir just until it loosens. That short rewarm can smooth out small clumps and make pouring easier. Reheating over and over breaks the texture down and gives the oil more chances to separate, which is the opposite of what you want when consistency matters for dosing.
Blooming and mixing errors show up fast
By this point, any mistake from the gelatin stage becomes obvious. Poorly bloomed gelatin leaves tiny rubbery bits. Aggressive whisking traps air, which gives finished gummies bubbles and a weak surface. Incomplete mixing leaves marbling, shiny oil patches, or pieces that set with different texture across the tray.
If you see those signs before filling the molds, fix them in the pot. A quick pass with an immersion blender can help emulsify the mixture, but keep the blender head submerged and avoid whipping in extra air.
Stickiness comes from moisture, heat, or rushing the set
Tacky gummies are usually telling you something specific. They were poured too warm, moved before they had time to firm up, or left in a humid kitchen after demolding.
A few habits improve the finish:
- Fill molds on a tray: You can move the whole batch without sloshing individual molds.
- Chill until the center is fully set: The tops can look ready before the middle is.
- Let demolded gummies rest briefly on parchment or a rack: A little surface drying helps the chew.
- Keep humidity low while they finish: Moist air turns a clean exterior sticky fast.
If you like experimenting with texture, some makers also compare gummies with other shelf-stable edible formats such as freeze-dried edibles for texture and storage differences.
Lecithin helps, but it does not rescue sloppy technique
Lecithin can improve emulsion stability, especially in oil-based cannabis gummies, and it can help the mixture stay uniform long enough to pour cleanly. Still, lecithin is a support ingredient, not a fix for overheating, under-mixing, or bad ratios.
Use a modest amount if it already fits your recipe. Then watch the actual signs in the pot. A smooth, glossy mixture with no visible oil sheen is the goal.
Keep flavor changes small until the base recipe is reliable
A lot of home makers try to cover infusion flavor by adding extra juice, extra acid, or too many flavorings at once. That usually creates a softer set or a batch that sweats later.
Build from a stable base first. Flavored gelatin, a measured amount of complementary juice, and restrained acid usually produce better gummies than a crowded ingredient list. Once the texture is repeatable, then adjust flavor in small increments.
Set up the kitchen before the heat goes on
Have the saucepan, spatula, blender, molds, tray, dropper or squeeze bottle, and cleanup towels ready before you start. The window for smooth pouring is short.
That prep is what separates a controlled batch from a sticky scramble.
Proper Storage and Important Safety Notes
Fresh gummies can look harmless, especially if they smell fruity and sit in a candy mold. That’s exactly why storage and labeling need to be absolutely essential.
Store for texture first, safety always
For short-term use, keep gummies in an airtight container in the refrigerator. That helps preserve texture and reduces the chance of them turning sticky or misshapen. If you made a larger batch than you’ll use soon, freezing is the better move.
A few storage habits help:
- Use airtight containers: Gummies absorb odors and moisture more easily than people expect.
- Separate layers with parchment if needed: This prevents clumping.
- Label every container clearly: Never rely on memory.
- Keep the container out of casual reach: A high shelf is not the same as secure storage.
For readers who like make-ahead edible formats, this look at freeze-dried edibles offers another perspective on shelf stability and texture.
Label like someone else might find them
Write down what they are, when they were made, and the estimated dose per piece. If there’s any chance another adult could mistake them for regular candy, your label needs to be clearer.
Include:
- batch date
- active ingredient type
- estimated dose per gummy
- any special notes such as “test low” or “night use only”
Keep legal and household realities in mind
Laws vary, and local enforcement priorities aren’t the same thing as permission. If you’re in Michigan, stay aware of the local conditions and current rules without assuming informal culture equals legal certainty.
Most important, keep infused gummies away from children, pets, and anyone who didn’t knowingly agree to consume them. Homemade edibles demand adult handling from start to finish.
Frequently Asked Questions
Can I use butter instead of coconut oil
You can, but gummies generally behave better with coconut oil. Butter brings more water, more dairy flavor, and often more separation problems. If your goal is clean fruit flavor and a stable set, coconut oil is the easier base.
What about MCT oil
MCT oil can work in some edible applications, but standard coconut oil is usually simpler for classic gummies because it gives the mixture more body. Very fluid oils can be trickier to keep evenly dispersed if your mixing and molding routine isn’t tight.
Can I make vegan gummies
Yes, but that becomes a different recipe, not a direct swap. Agar-based candies can work, but they set differently and have a different chew. If you go that route, expect a firmer, less classic gummy texture and do a small test batch before committing your infusion.
Why did my oil separate from the gummies
The usual causes are poor emulsification, adding cool oil, not blending enough, or rushing the mold stage. Separation often starts in the saucepan. If the mixture looks slick or streaky before pouring, it probably won’t fix itself in the fridge.
Why are my gummies sticky
They often need more chill time, better airflow after demolding, or drier storage. Overfilled molds and humid storage can also make the outside tacky.
How do I get more consistent results next time
Keep one recipe, one mold size, one infusion style, and one labeling system. Consistency comes from repeating a clean process, not changing five variables at once.
If you’d rather skip the trial-and-error stage and shop from a local source built for adult consumers, Metro Mush offers a curated range of mushroom edibles, chocolates, drinks, and premium products for Detroit and Ann Arbor customers who want convenience and a more predictable buying experience.