

You’re probably standing in the kitchen with a box or cluster of chestnut mushrooms, wondering whether to rinse them, slice them thin, or just throw them straight into a hot pan and hope for the best.
Chestnut mushrooms reward good handling more than a lot of other vegetables do. Treat them casually and they turn limp, pale, and watery. Handle them with a little intention and they become savory, browned, and almost meaty. That’s why learning how to prepare chestnut mushrooms is less about memorizing a recipe and more about understanding two simple ideas: keep excess water away, and use enough heat to create flavor.
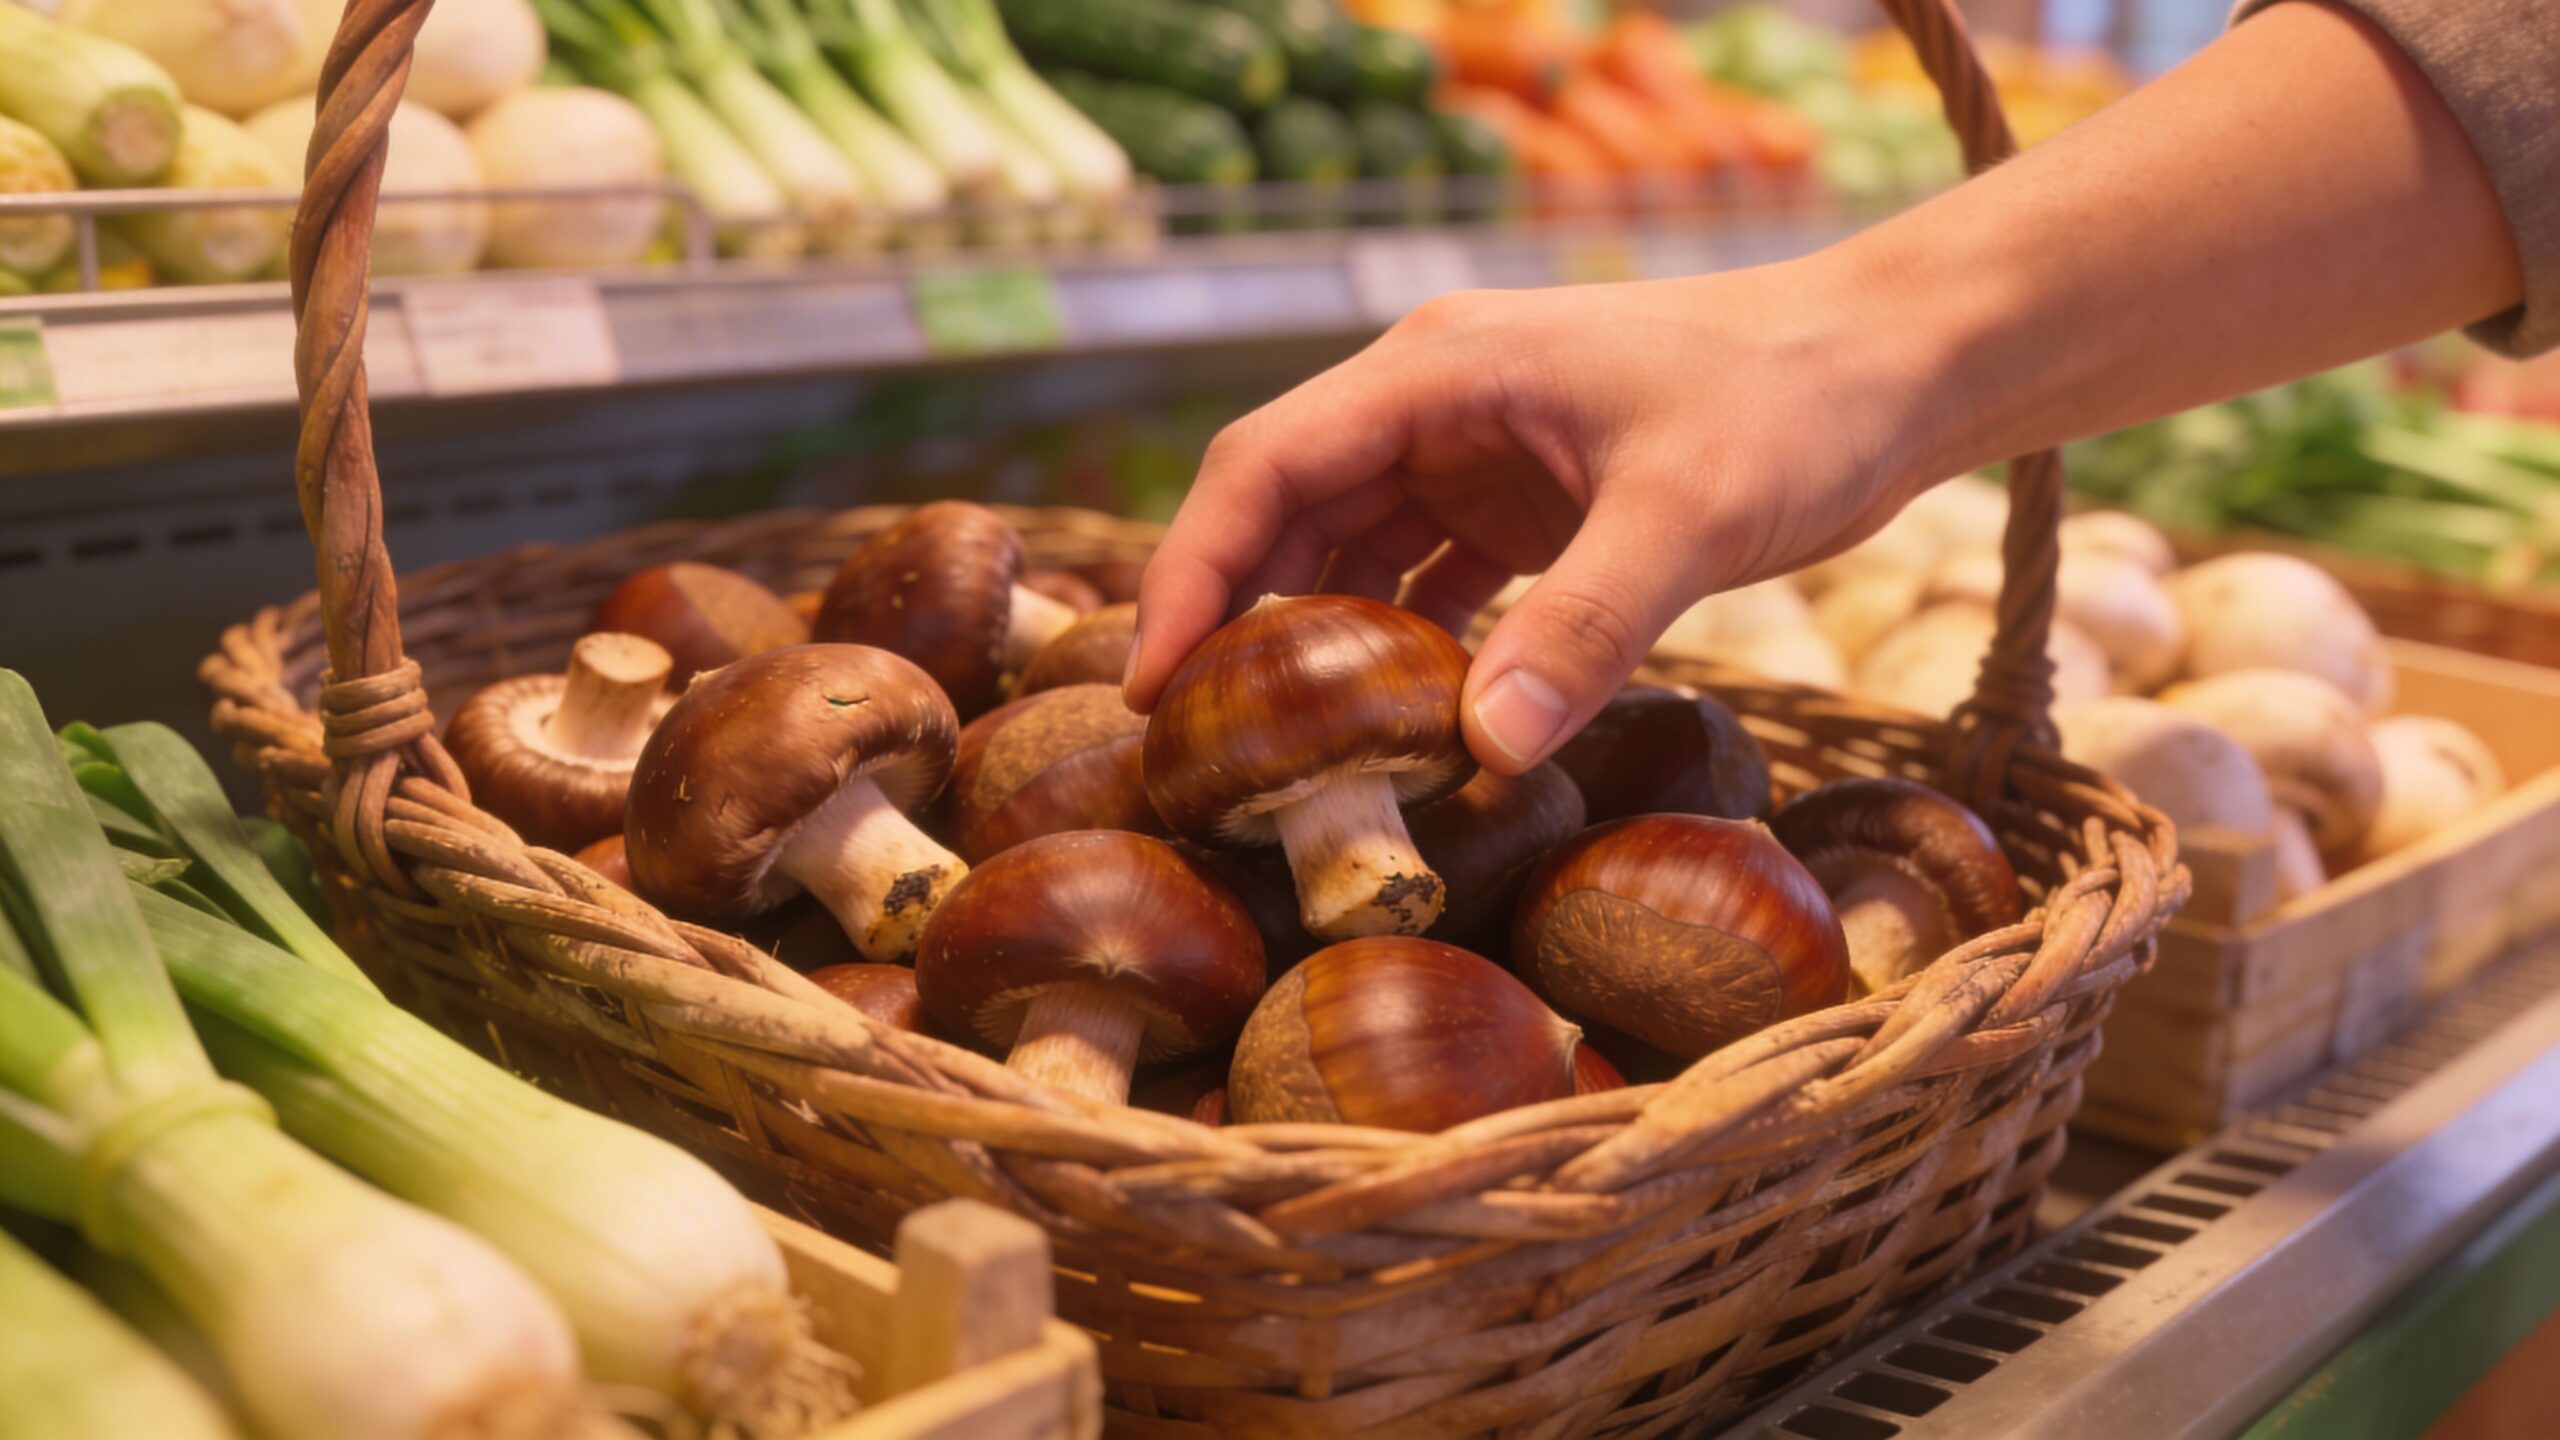
The Secret to Perfect Chestnut Mushrooms Starts at the Store
Most problems start before cooking. People buy mushrooms that are already tired, then wash them like potatoes.
A good chestnut mushroom should feel firm, look clean and smooth, and have a surface that’s closer to dry than slick. If the caps look wet, bruised, or tired, they’ll cook like they’ve already begun steaming in their package.
What to look for
Use a quick check before they go into your basket:
- Check the caps: Look for caps that are intact and smooth, not shriveled or sticky.
- Feel the texture: Fresh mushrooms feel springy and firm, not soft or damp.
- Inspect the base: A little bit of growing medium is normal. Heavy debris or obvious breakdown isn't.
- Buy with a plan: If you’re not cooking them soon, choose the driest-looking package.
If you grow mushrooms at home, harvest timing matters just as much as freshness at the store. This guide on when to harvest blue oyster mushrooms shows the same basic principle: texture starts changing the moment mushrooms move past their prime.
Brush, don’t bathe
Chestnut mushrooms absorb water quickly because of their porous structure. One cultivation guide notes that similar fungi can reach up to 90% moisture content, and that submersion washing can dilute flavor by 20 to 30% while making the mushrooms soggy. The same source recommends brushing dirt away gently, which also helps preserve a refrigerated shelf life of 5 to 7 days (Out-Grow’s chestnut mushroom guide).
That explains why rinsing feels harmless but often ruins the pan result. The mushroom goes in wet, releases even more moisture, and browns poorly.
Practical rule: If the dirt can come off with a soft brush, paper towel, or barely damp cloth, that’s the right level of cleaning.
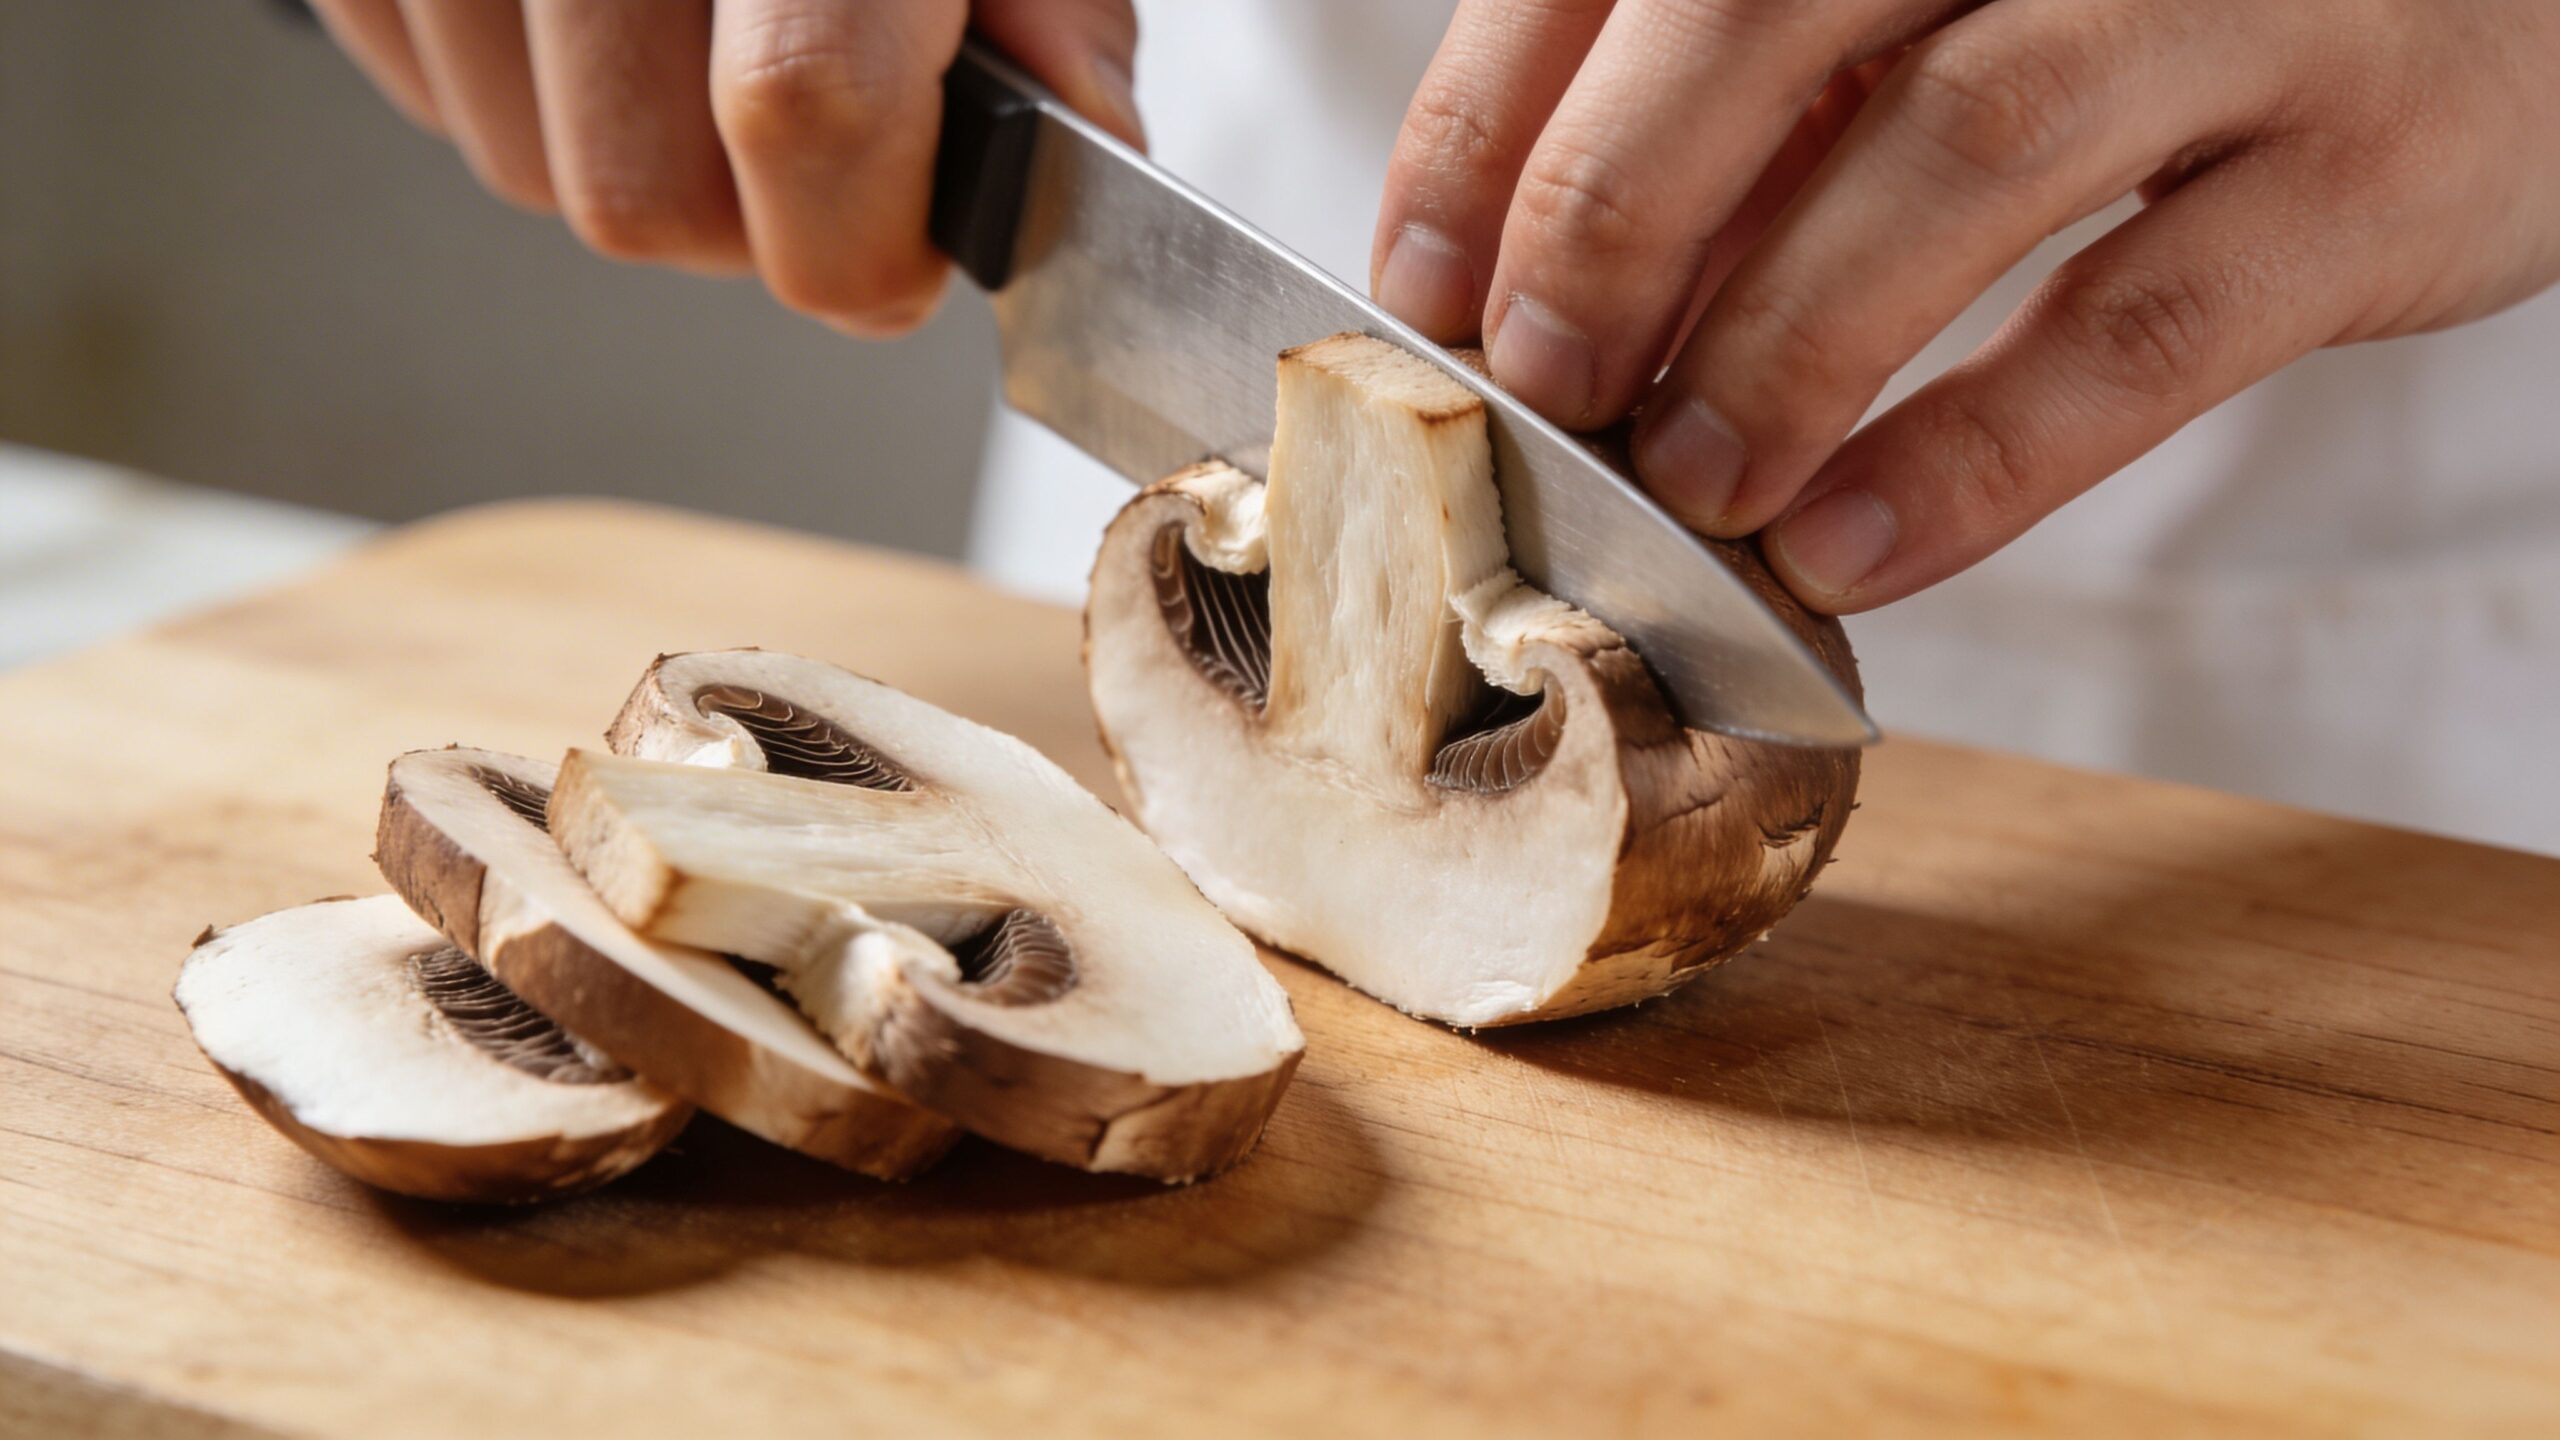
The process is simple. Trim any grubby end from the stem. Brush away loose debris. If a spot won’t budge, wipe it with a damp paper towel, then let the mushroom dry before slicing.
How to Slice for Optimal Texture and Browning
Knife work changes the final dish more than people expect. The cut decides how much surface touches the pan, how fast moisture escapes, and whether the mushroom eats delicate or hearty.
Match the cut to the dish
Consider how to match the cut to the dish:
| Cut | Best use | What it gives you |
|---|---|---|
| Whole or halved | Fast roasting, skewers, grilling | A dense, meaty bite |
| Thick slices | Sautéing, roasting | Good browning with a tender center |
| Thin slices | Omelets, quick pan dishes, pasta | Faster cooking and softer texture |
| Quarters | Stews and braises | Structure that holds in liquid |
Uniformity matters more than the exact shape. If half the mushrooms are paper-thin and the rest are bulky, one group burns while the other steams.
A useful detail from cooking guidance on chestnut mushrooms is that quartering 250g for stews is a standard prep because the larger pieces keep their shape better in liquid-heavy dishes (Braised & Deglazed on cooking mushrooms).
A few practical defaults
If you’re unsure, use these:
- For a skillet side dish: Slice them thick enough to stay substantial.
- For soup or stew: Quarter them so they don’t disappear.
- For toast, omelets, or pasta: Go thinner so they cook quickly.
- For roasting: Halve or thick-slice so the edges brown before the centers dry out.
Watch this in action if you want a visual on basic handling and prep:
Consistent cuts don’t just look better. They make heat predictable, which is the whole game with mushrooms.
Unlocking Flavor with the Right Cooking Method
A pan full of mushrooms can go two ways fast. Give them high heat and enough space, and they turn savory, browned, and almost nutty. Crowd them or start with too much moisture, and they slump, leak liquid, and go soft before they ever color.
That is the simple rule behind cooking chestnut mushrooms well. Water on the surface slows browning. High heat drives that water off, then starts building flavor through the Maillard reaction. Culinary guidance on cooking mushrooms notes that good browning happens once the surface is hot enough and dry enough to color properly, which is why technique matters more than fussing over a recipe (Braised & Deglazed’s cooking guide).
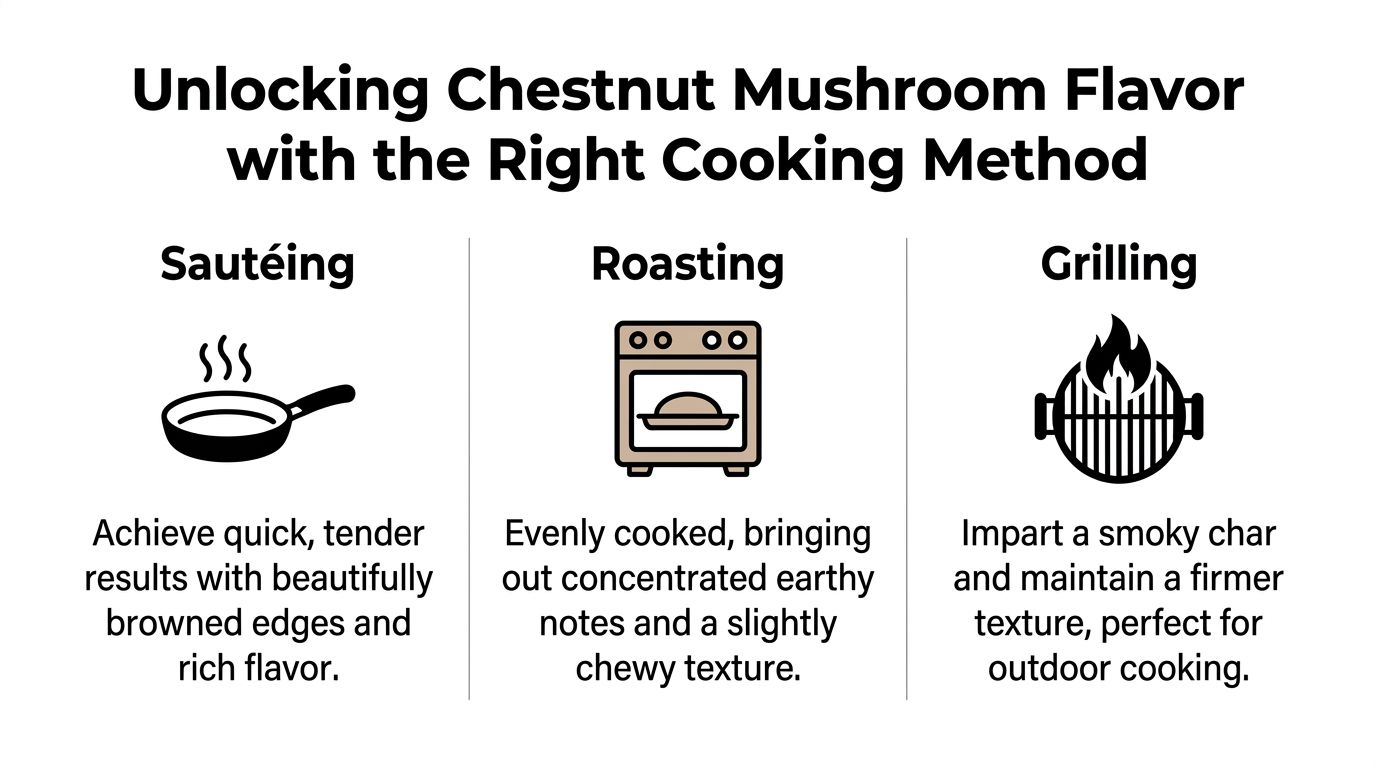
Sautéing for speed and deep browning
Sautéing gives the best control. It is also the method that exposes mistakes quickest.
The main one is overloading the skillet. Mushrooms release a lot of moisture at the start. If the pan is packed, that moisture collects faster than it can evaporate, so the mushrooms steam instead of fry. In chef-tested trials, batch cooking outperformed a crowded pan by a wide margin, which matches what any cook sees at the stove. A loose layer browns. A piled pan boils.
How to sauté them well
- Heat a wide skillet until it is properly hot before adding anything.
- Add oil, butter, or a mix. Oil buys you a little more heat tolerance. Butter adds better flavor.
- Add the mushrooms in one loose layer.
- Leave them alone for the first minute or two so one side can color.
- Stir once they have picked up brown edges, then season.
- Cook until the pan looks dry and the mushrooms smell toasty, not watery.
If I want the deepest color, I start with oil and add butter later. Butter alone tastes excellent, but it can brown before the mushrooms do if the heat is aggressive.
If liquid is pooling in the pan, the heat is being spent on evaporation instead of browning.
Roasting for consistency and ease
Roasting is the best choice for a larger batch. It is also forgiving, because the oven surrounds the mushrooms with steady heat instead of relying on one hot contact point.
Set the oven hot. Guidance from Forager Chef recommends roasting chestnut mushrooms at 425°F in a single layer for 20 to 25 minutes, with a turn partway through for more even caramelization (Forager Chef’s chestnut mushroom guide). That high temperature matters. At lower heat, mushrooms tend to give off moisture and sit in it too long.
Roasting formula
- Heat the oven fully before the tray goes in.
- Toss the mushrooms with just enough oil to coat.
- Spread them in a single layer.
- Turn or rotate the pan once during cooking.
- Add garlic, herbs, lemon, or vinegar after roasting, not at the start.
Roasted chestnut mushrooms come out a little different from sautéed ones. The edges concentrate and wrinkle slightly, while the centers stay chewy. That makes them good for grain bowls, sheet-pan dinners, and warm salads where you want distinct pieces, not a soft mushroom pile.
Grilling for smoke and structure
Grilling suits larger chestnut mushrooms best. Use whole small caps, halves, or thick pieces that can take direct heat without drying out too quickly.
Start with a clean, well-oiled grill over medium-high heat. Coat the mushrooms lightly with oil rather than pouring oil onto the grates. Then grill them for a few minutes per side until they are marked, tender, and still springy in the center. If they stick, they are usually either too wet or not ready to release yet.
A few details make grilling work better:
- Keep the pieces substantial so they do not shrivel before they char.
- Skewer smaller mushrooms or use a grill basket if needed.
- Season after they come off if you are using salty ingredients like soy or a glaze, since sugary or wet coatings can burn over direct heat.
- Finish with herbs, garlic butter, or a little acid while they are hot.
Grilling gives you smoke and a firmer bite than the other methods. It is a good fit when mushrooms are part of a platter with steak, chicken, polenta, or charred vegetables.
What each method gives you
| Method | Best for | What to watch |
|---|---|---|
| Sautéing | Fast sides, pasta, eggs, toast | Overcrowding the pan |
| Roasting | Bigger batches, even cooking, hands-off prep | Oven not hot enough |
| Grilling | Smoky flavor, firmer texture, larger pieces | Mushrooms drying out or sticking |
All three methods follow the same logic. Keep the mushrooms relatively dry, give them room, and use enough heat to cook off moisture before you expect browning. Once that clicks, chestnut mushrooms become much easier to cook well on instinct.
Simple Seasonings and Perfect Pairings
Chestnut mushrooms don’t need much, but they do need the right kind of help. Their flavor sits in a good middle ground: earthy enough to stand up to stronger ingredients, but not so forceful that every seasoning works.
The classic route
Garlic, thyme, shallot, black pepper, and butter are classic for a reason. They support the mushroom instead of covering it.
A pan of sautéed chestnut mushrooms finished with thyme and a little garlic feels at home next to eggs, roast chicken, polenta, or toast. If the mushrooms are well browned, you don’t need much else.
A good mushroom pan often needs one herb, one aromatic, and enough salt. Beyond that, restraint usually tastes better than creativity.
Umami boosters
When you want a richer result, add something savory instead of just adding more salt.
Good options include:
- Soy sauce: Use a small splash near the end so it glazes instead of boiling.
- Parmesan: Best as a finish over hot roasted mushrooms.
- Miso: Excellent in a pan sauce or butter mixture.
- Cream: Turns browned mushrooms into a pasta or toast topping.
These work because they echo what browning already created. They deepen savoriness instead of pulling the dish in a different direction.
Bright finishes that keep mushrooms lively
Mushrooms love acid. Without it, rich preparations can taste heavy.
Try one of these finishes depending on the dish:
- A squeeze of lemon juice over roasted mushrooms
- A few drops of sherry vinegar in a skillet
- Balsamic vinegar with mushrooms headed for toast or pasta
- Parsley or chives to freshen a rich pan
One reliable combination is roasted chestnut mushrooms tossed with garlic, thyme, and a little vinegar after cooking. Another is sautéed mushrooms deglazed with wine, then finished with butter and parsley for spooning over steak, beans, or mashed potatoes.
How to Store Chestnut Mushrooms Properly
Mushrooms go downhill fast when they can’t breathe. The usual culprit is sealed plastic.
Chestnut mushrooms store best when they stay cool, dry, and exposed to a little airflow. They keep releasing moisture after you bring them home, and if that moisture gets trapped, the surface turns slick instead of firm. A paper bag, a loosely covered container, or the original breathable pack gives that moisture somewhere to go.
The right way and the wrong way
Use this quick comparison:
| Storage method | What happens |
|---|---|
| Paper bag in the fridge | Better airflow, less slime |
| Loosely covered container | Good if the mushrooms are dry |
| Sealed plastic bag | Traps moisture and speeds spoilage |
If they came home clean and dry, leave them alone until cooking day. If you wiped them with a damp towel, let any surface moisture dry off first. Extra water in storage does the same thing extra water in the pan does. It gets in the way of good texture.
For more practical storage guidance on different mushroom types, this collection on how to store mushrooms is useful.
Storing cooked leftovers
Cooked chestnut mushrooms keep well in a covered container once cooled. In the fridge, they are at their best for 3 to 4 days.
Use them where a quick reheat makes sense, such as omelets, grain bowls, pasta, soup, or folded into warm rice. Reheat gently in a skillet or add them straight to something hot near the end. Hard reheating drives off the moisture they have left and turns nicely browned mushrooms chewy or dry.
Common Questions About Preparing Chestnut Mushrooms
A lot can go right with chestnut mushrooms until one small choice throws off the texture. A rinse that leaves them waterlogged, a crowded pan, a freezer bag packed with raw slices. These are the questions that come up most often, and the answers make more sense once you know what mushrooms are reacting to.
Are the stems edible
Yes. Chestnut mushroom stems are edible, and I cook them right along with the caps unless the cut end is dry or gritty.
The only part worth trimming is the very bottom where it met the growing medium. If the stems seem denser than the caps, slice them a little thinner so everything finishes together. That matters more than separating them.
Stem edibility can vary a lot by species, which is one reason it helps to know what mushroom you are handling. If you are curious how different wild species compare, this guide to mushrooms of Illinois gives useful context.
How can you tell when they’ve gone bad
Use your nose first, then your eyes and hands.
Fresh chestnut mushrooms smell earthy and clean. Bad ones smell sour, musty, or unpleasantly sharp. If they feel slimy, look collapsed, or show dark wet patches, they are past their best and usually not worth trying to save.
A little drying around the edges is fine. Wet, sticky surfaces are a clear warning sign.
Can you freeze chestnut mushrooms
Yes, but freeze them after cooking if texture matters to you.
Raw mushrooms hold a lot of water in their structure. Once that freezes and thaws, they tend to go soft and a little spongy. A quick sauté or roast drives off some of that moisture first, which is why cooked mushrooms freeze and reheat far better.
Cool them fully, pack them well, and use them in soups, sauces, pasta, or stews.
Why didn’t mine brown
The pan was too crowded or the heat too low.
Chestnut mushrooms brown once their surface moisture cooks off. If too many go into the pan at once, they steam each other and stay pale. If the heat is weak, the water lingers even longer and you get softness without much color.
Cook in batches. Give them space. Once the water is out of the way, the flavor starts to build.
Browning follows moisture loss. Dry surface first, then color, then deeper mushroom flavor.